Organisation and team
The organisation is the topmost level in MyNetworkmap. It holds all of your team's user accounts and all projects those accounts can work in. In the Organisation and team module you maintain the contact and billing data, manage your plan and set up team accounts.
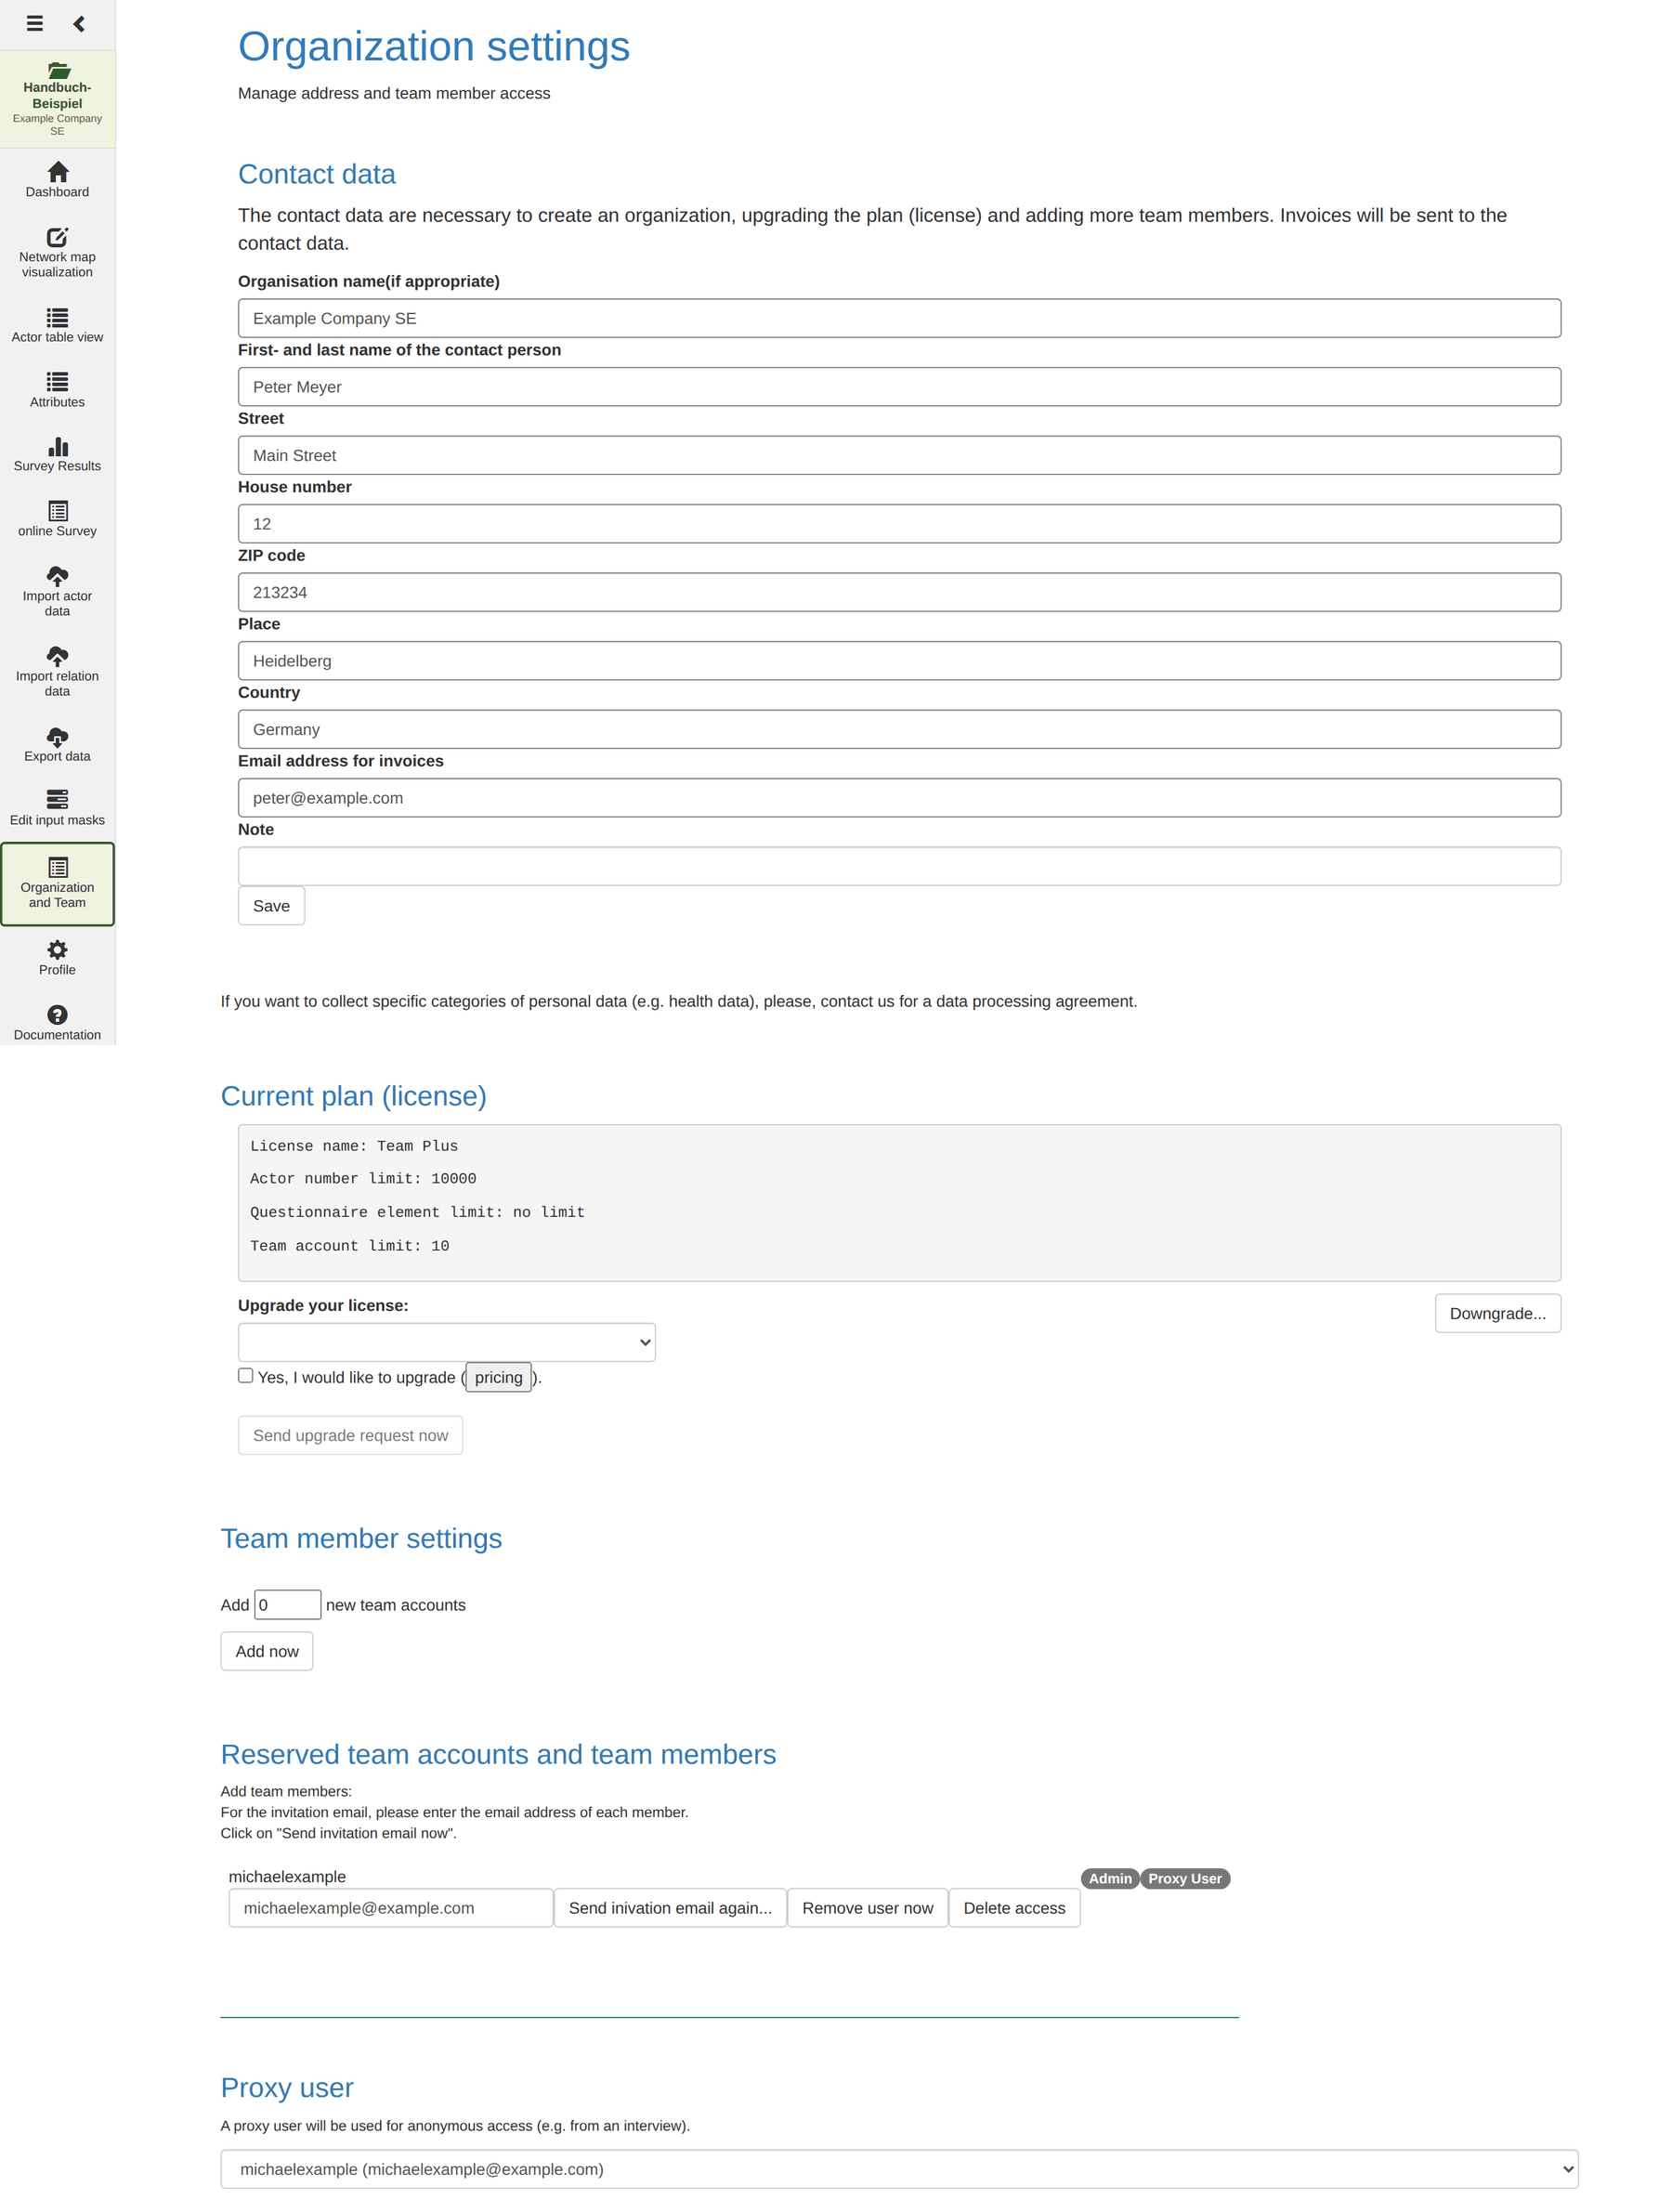
Caution: Without administrator rights in the organisation the input fields are locked and the message No admin rights! appears. You can look at the page but change nothing.
Contact data
The Contact data section holds the address invoices are sent to. It is needed to create an organisation, change the plan or add further team members.
| Field | Contents |
|---|---|
| Organisation name | Company, institute or working group (if applicable) |
| First and last name of the contact person | The person responsible |
| Street, House number, ZIP code, Place, Country | Billing address |
| Email address for invoices | Invoices and plan notifications go here |
| Note | Free text, for example a cost centre |
The Save button below the fields applies the changes.
Note: If you collect special categories of personal data — health data, say — you need a data processing agreement. The note below the form gives the contact address for it.
Plan
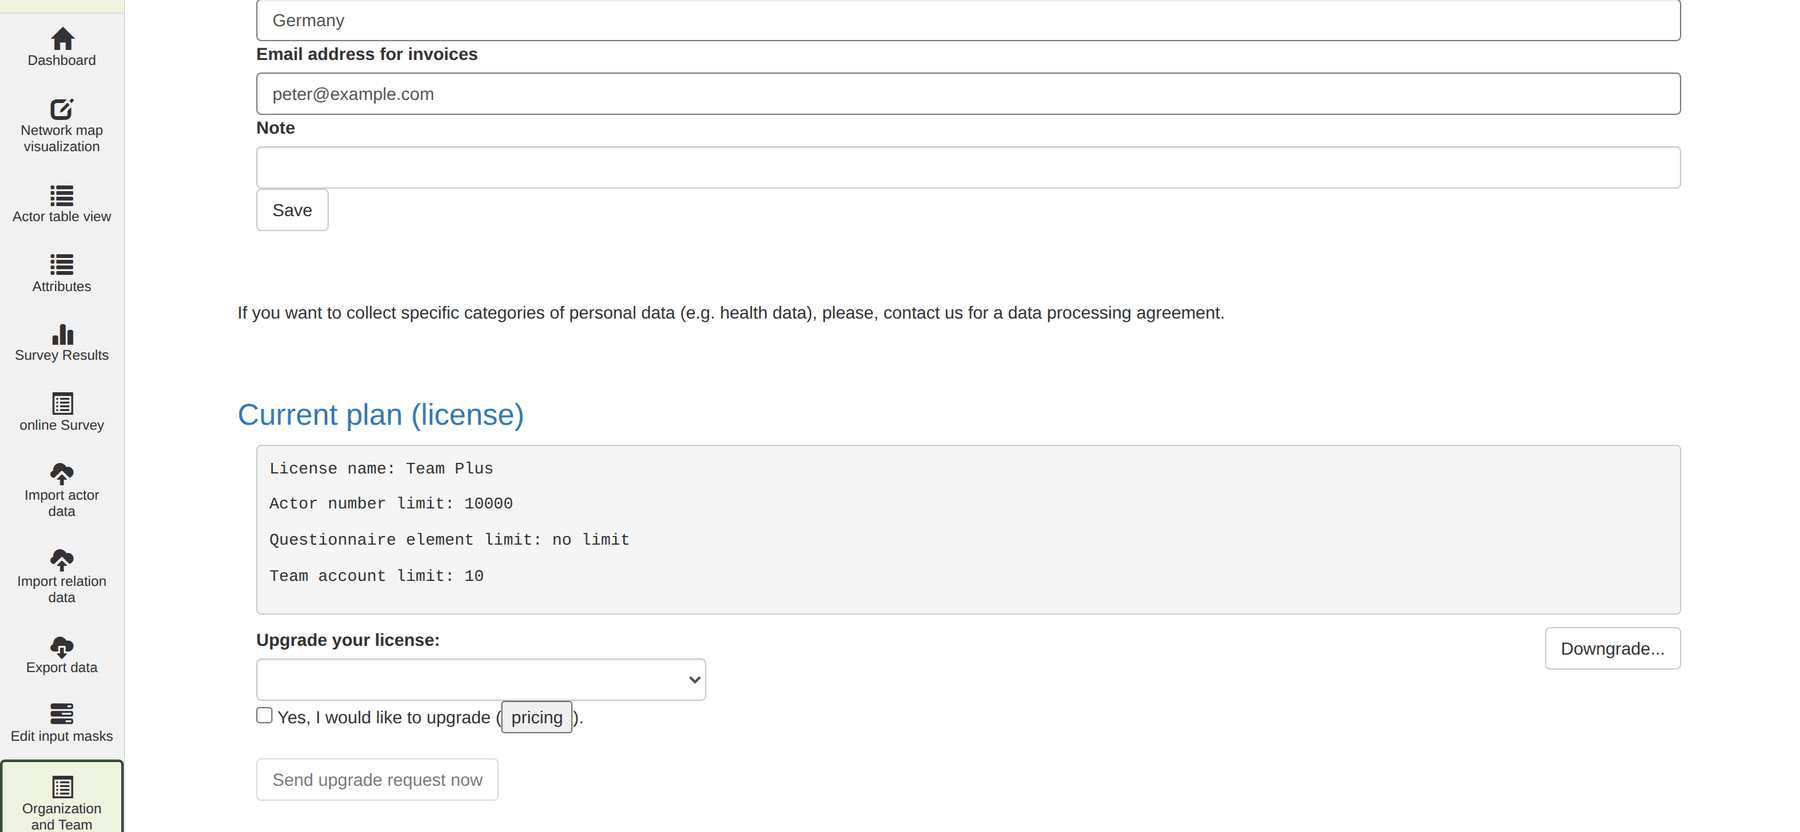
The Current plan (license) section shows the plan you have booked and its limits — above all the number of team accounts and the maximum number of actors.
Changing the plan
- Choose the plan you want in the selection box under Upgrade your license.
- Tick the checkbox next to it. That enables the Send upgrade request now button.
- Click the button — the request goes to support.
The pricing button opens the plan overview with the included features. Moving to a smaller plan runs through Downgrade… and works the same way.
Note: If your number of actors exceeds the plan's allowance, the dashboard warns with a red notice. The data is kept.
Booking team accounts
Every team member needs their own team account. In the Team member settings section you enter how many additional accounts you need and click Add now.
Billing is monthly. The first month is billed to the day; an invoice is created as soon as you book — regardless of whether the account is used.
Inviting and managing team members
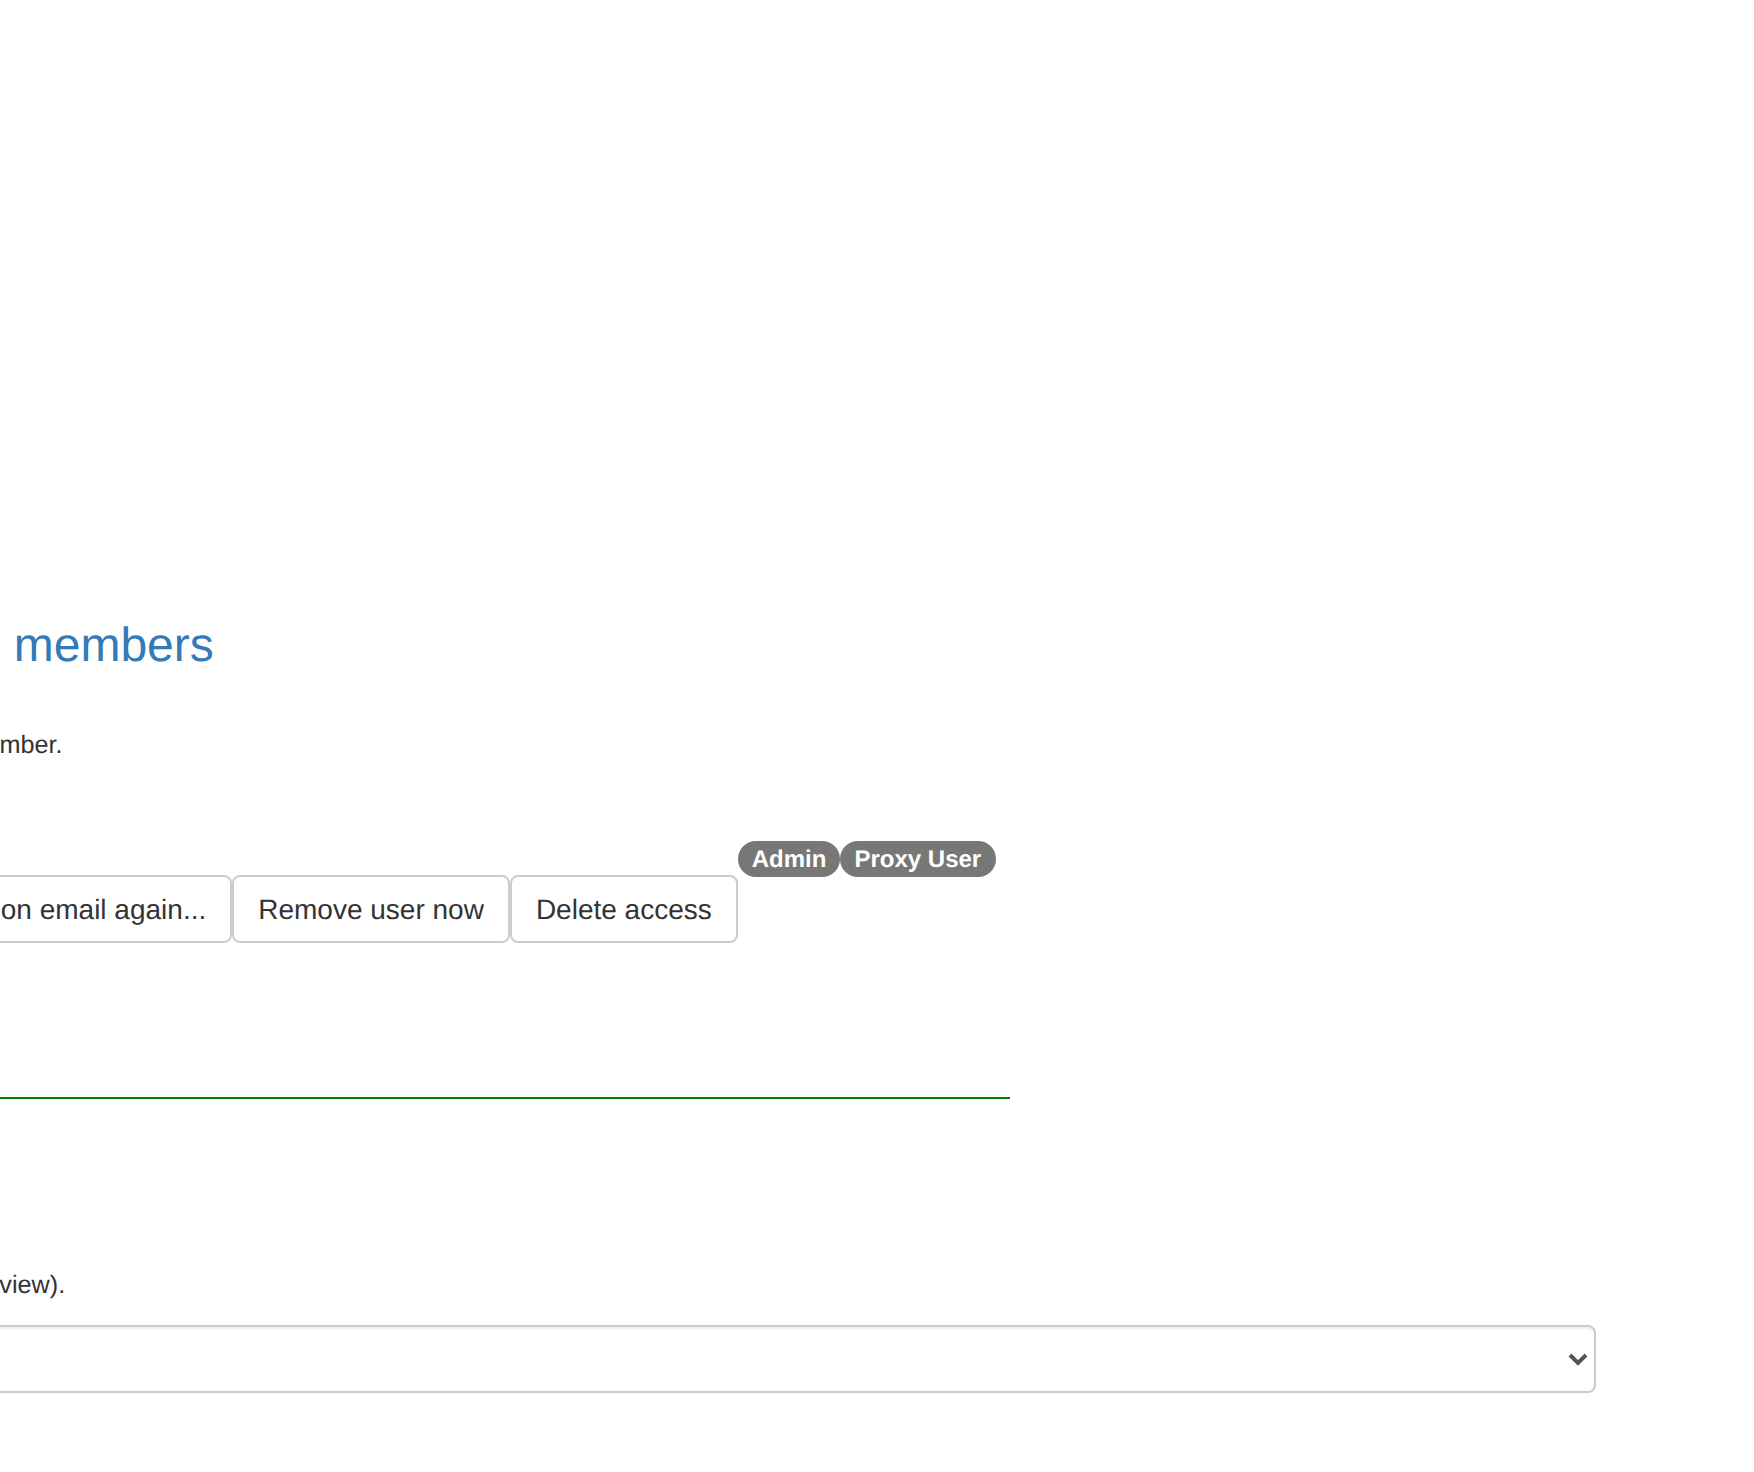
The Reserved team accounts and team members section shows one row per booked account.
How to invite somebody:
- Book a free account (see above).
- Enter the person's email address into the row's input field.
- Click Send invitation email now…. The person receives an email with a link through which they create their account.
Once the account has been taken up, the row's buttons change:
| Button | Effect |
|---|---|
| Send invitation email again… | Sends the invitation once more, for example to a corrected address |
| Remove user now | Removes the person from the account; the account itself stays booked and can be handed to somebody else |
| Delete access | Cancels the account as of the first of the following month |
A cancelled account carries the red marker Will be deleted at …. As long as the date has not been reached, Cancel delete undoes the cancellation.
Markers in a row
| Marker | Meaning |
|---|---|
| Admin | The account has administrator rights in the organisation |
| Proxy User | The account serves as the anonymous access (see below) |
Note: who works in which project, and with which role, is not set here but in the Project module under Members. This page only manages access to the organisation.
Proxy user
A proxy user is the account anonymous access runs under — for example when somebody takes part in a questionnaire through a link, or looks at a publicly shared network map. Participants therefore need no account of their own.
The selection box under Proxy user determines which account of the organisation takes on this role.
Caution: Without a proxy user, public questionnaires and public maps do not work. The participation link then reports No interview found – an error easily mistaken for a problem with the questionnaire. Check this setting before you send links out; see the checklist in use case 1.