Attributes
An attribute is a property – either of an actor or of a relation. Attributes are the foundation of everything that follows: they determine what you can record, what you can filter by, and what can be shown on the network map as colour, shape, size or sector.
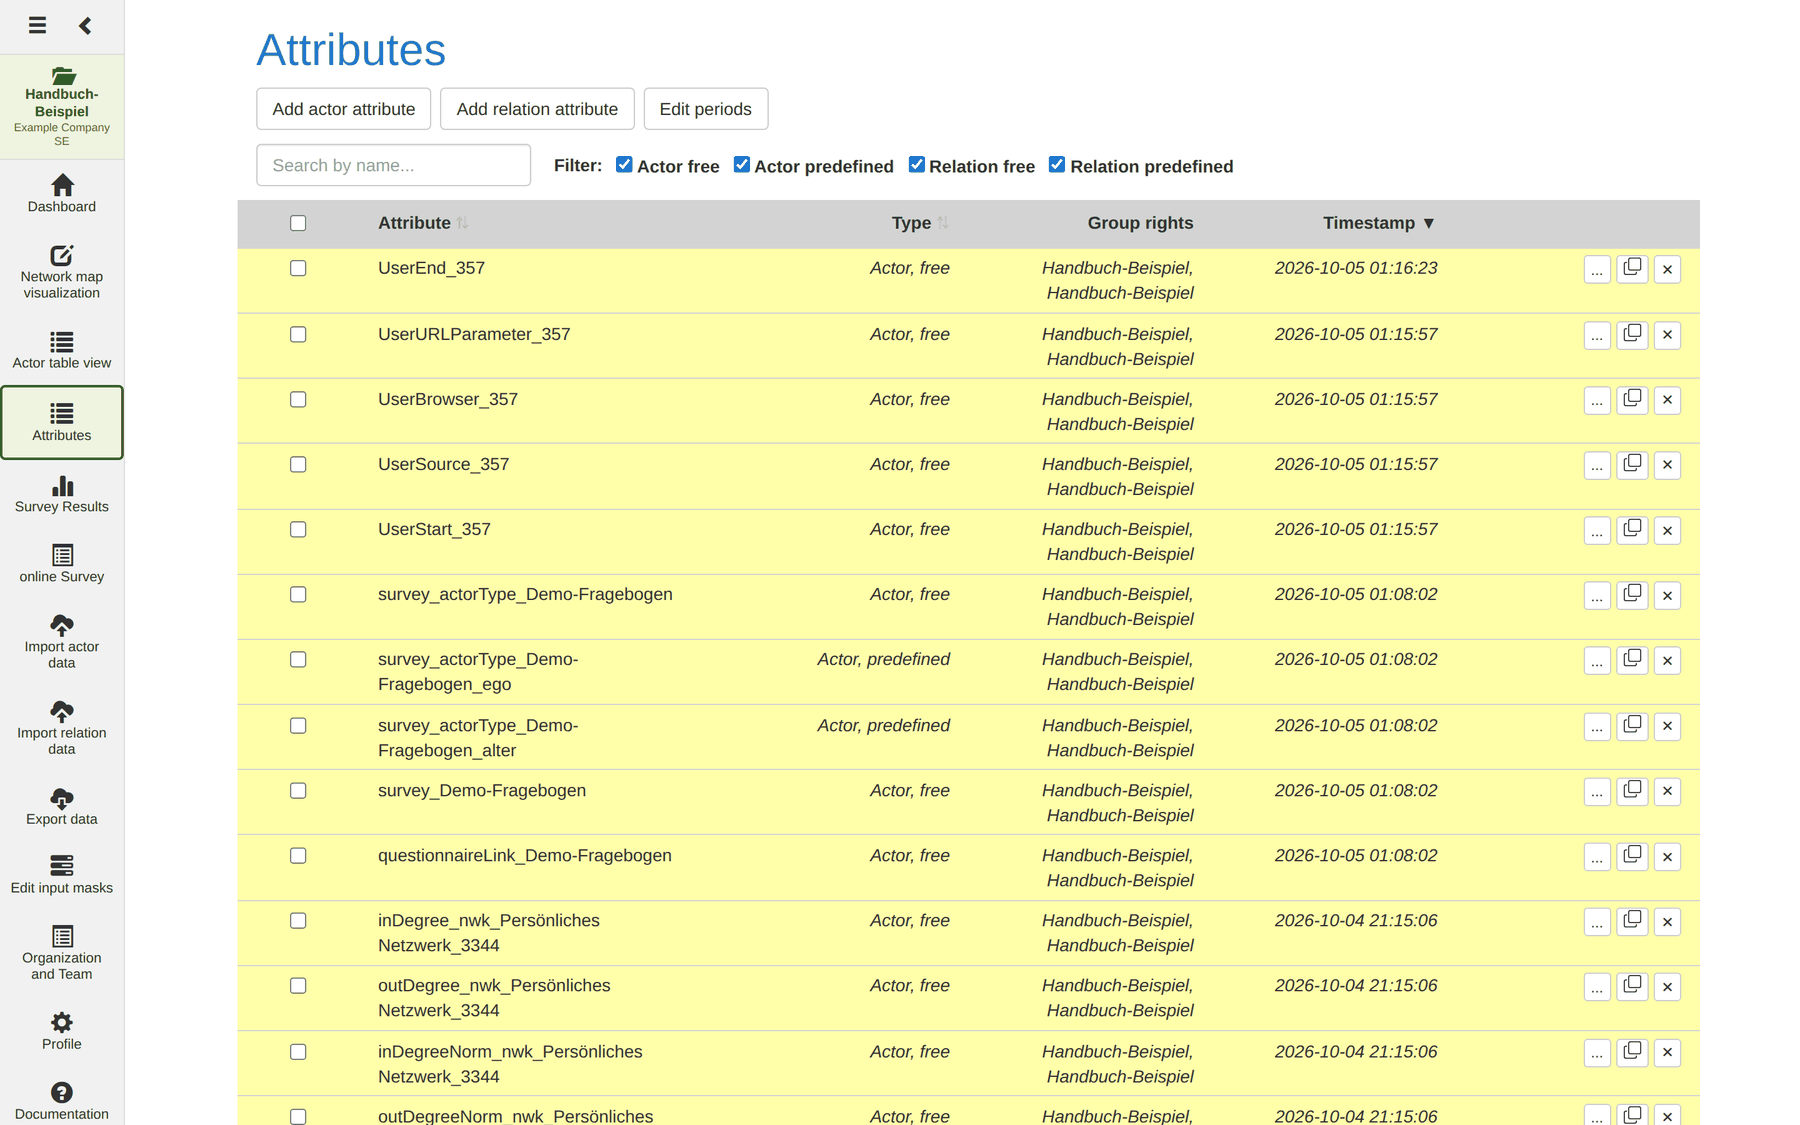
The example project of this manual uses nine attributes of its own:
| Attribute | Type | Values |
|---|---|---|
Name |
actor, free text | – (created by MyNetworkmap) |
Geschlecht (gender) |
actor, predefined | weiblich, männlich, divers |
Alter (age) |
actor, free text | – |
Wohnort (place) |
actor, free text | – |
Soziale Rolle (social role) |
actor, predefined | Familie, Freundin/Freund, Kollegin/Kollege, Nachbarin/Nachbar, Vereinsmitglied, Bekannte/Bekannter |
Freundschaft (friendship) |
relation, predefined | enge Freundschaft, Freundschaft, Bekanntschaft |
Finanzielle Hilfe (financial help) |
relation, predefined | ja, nein |
Konflikt (conflict) |
relation, predefined | ja, nein |
Stärke (strength) |
relation, predefined | 1, 2, 3, 4, 5 |
A note on language: this module is labelled entirely in English, even with the interface set to German.
Note: attributes belong to the active project. Creating, changing and deleting them needs at least the role Editor.
The four kinds of attribute
Attributes differ along two dimensions, giving four kinds – exactly the four filters at the top of the list:
| Free text (free) | Predefined | |
|---|---|---|
| Actor | name, age, place, e-mail | gender, department, class |
| Relation | a note about the relation | friendship, conflict, strength |
Free text means any value can be written into the field. Predefined means there is a fixed list of allowed values to choose from.
The most important decision when creating an attribute is the one between free text and predefined values – because it cannot be changed afterwards. And it decides what will be possible later:
Free text Predefined Symbol colour on the map no yes Actor sector no yes Symbol shape no yes Filtering by equality yes yes Free input when recording yes no Typos possible yes no Rule of thumb: anything you later want to distinguish by colour or to count needs predefined values.
Ageas free text is fine – nobody wants to colour 40 birth years.GenderorDepartmentas free text is a mistake you pay for later.
A practical example
In use case 2 the place of residence is to appear as a
coloured sector on the symbol. For that, Wohnort had to be created as a
predefined attribute with four districts in the school projects – while in
the manual's example project the same attribute is free text, because arbitrary
towns occur there. Both are right; what is right is whichever fits the planned
analysis.
The attribute list
| Column | Content |
|---|---|
| Checkbox | Multiple selection for deletion |
| Attribute | Name of the attribute |
| Type | Actor, free, Actor, predefined, Relation, free or Relation, predefined |
| Group rights | Read and write group |
| Timestamp | Time of the last change |
| Actions | ... edit, copy icon duplicate, ✕ delete |
Rows are colour-coded by kind, so actor and relation attributes can be told apart at a glance. Clicking Attribute, Type or Timestamp sorts; a second click reverses the direction.
Searching and filtering
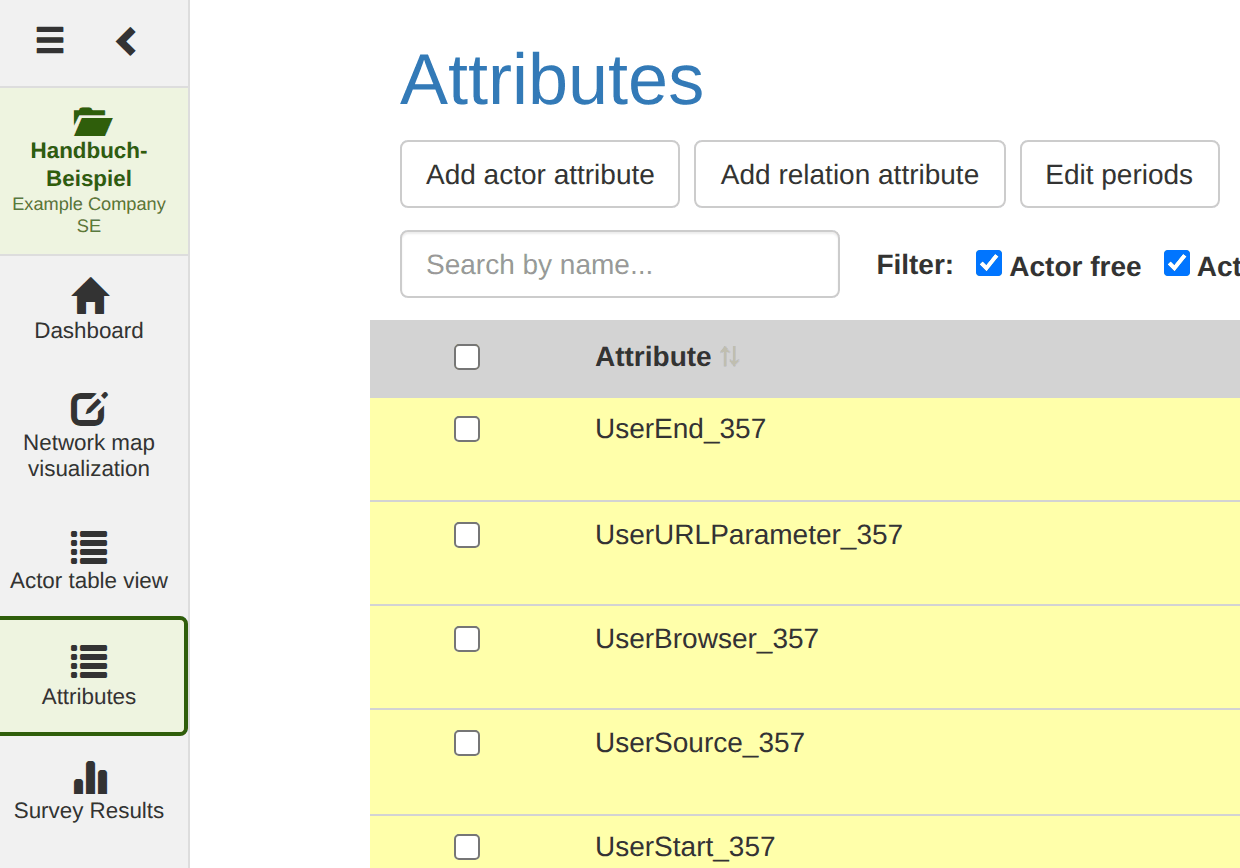
Search by name… filters the list as you type. The four checkboxes beside it – Actor free, Actor predefined, Relation free, Relation predefined – hide whole kinds. Both can be combined.
Tip: after a centrality computation on the network map, the list fills with technical attributes such as
betweenness_nwk_Klasse 7a_3345. A search term likenwk_shows exactly those – or, through the filters, hides them.
Creating an attribute
The two buttons at the top decide what the attribute applies to:
- Add actor attribute – a property of actors
- Add relation attribute – a property of relations
Both open the same dialog.
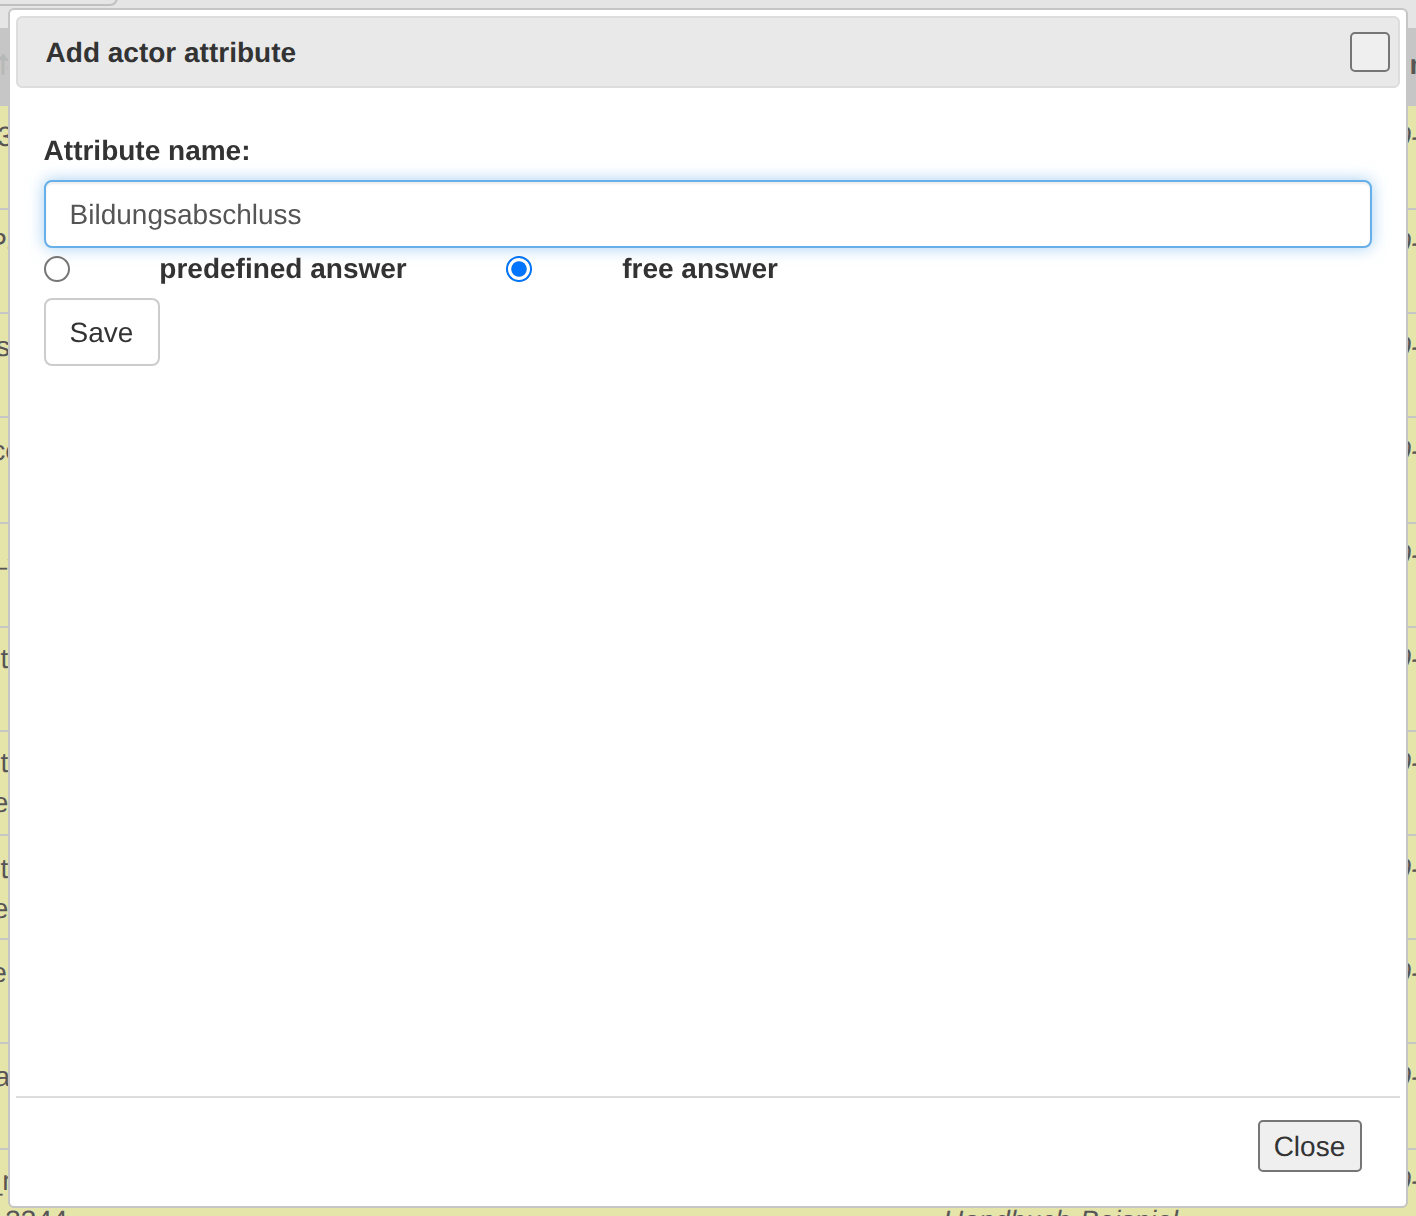
- Enter the name under Attribute name: (up to 200 characters).
- Choose the answer type: free answer is the default, predefined answer switches to a fixed list of values.
- Click Save.
Close closes the dialog without saving.
Defining predefined values
Choosing predefined answer reveals the Attribute value(s): area.
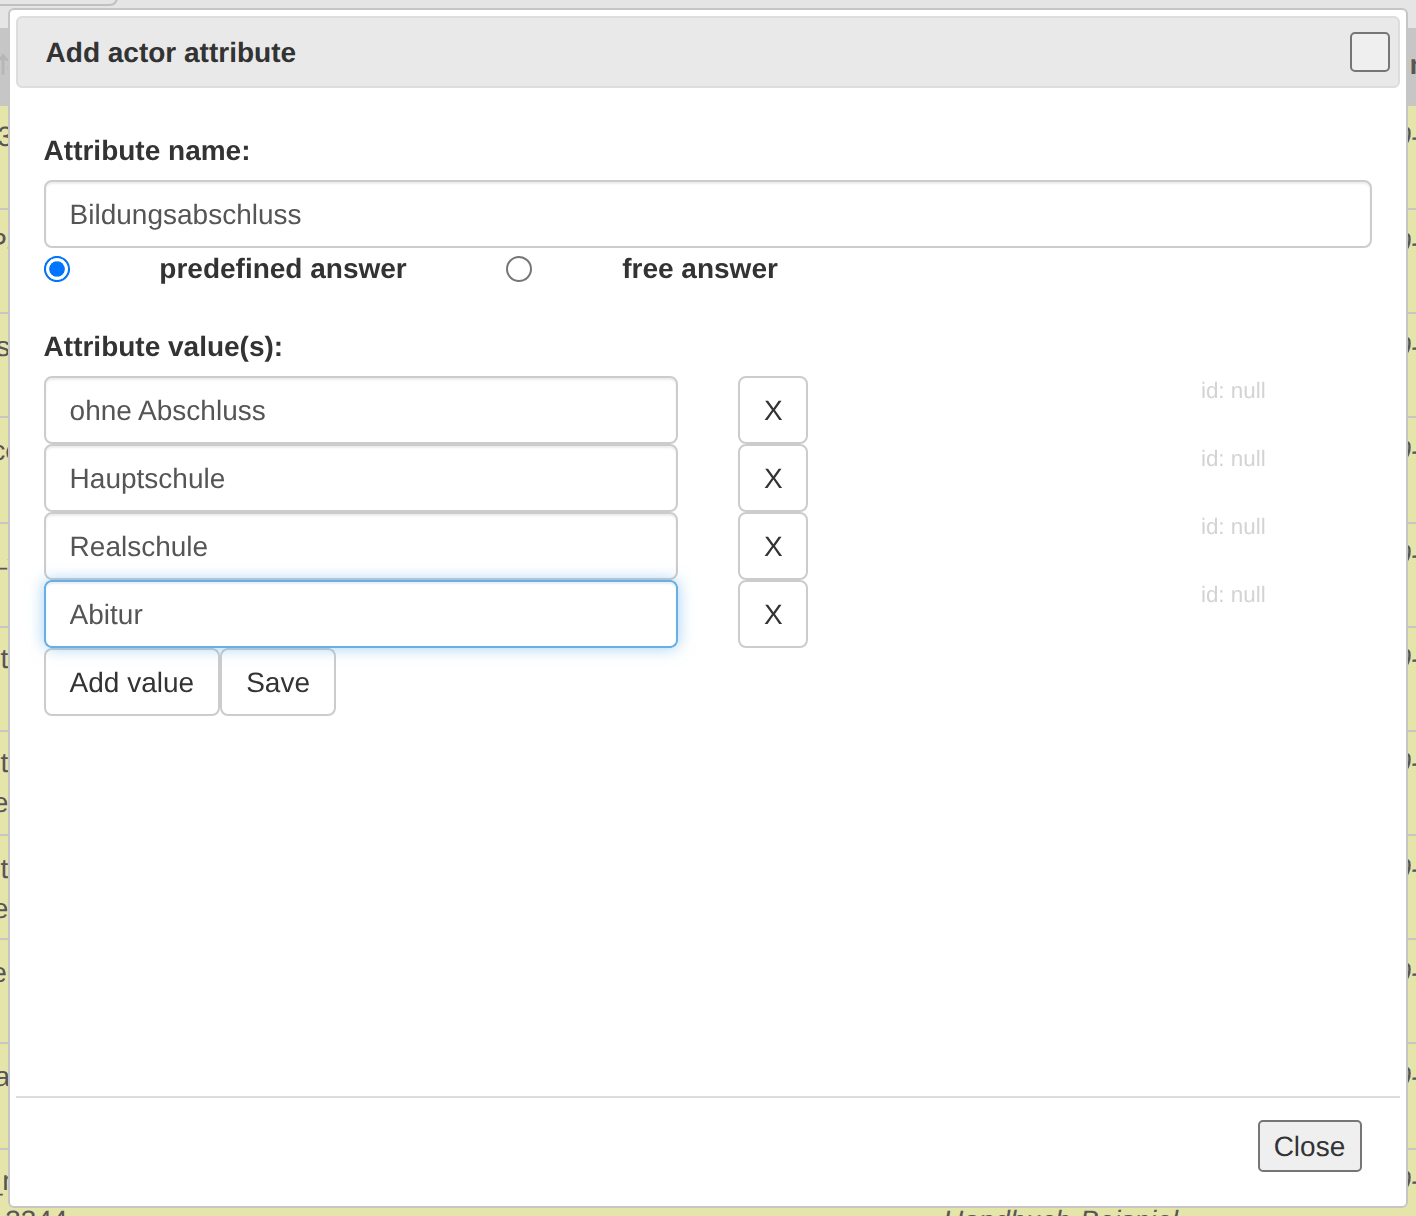
- Add value adds another empty input field – once per value.
- Type a possible value into each field.
- The X next to a field removes that value again.
- Save stores the attribute together with its values.
Order matters. The values appear everywhere in the order you created them – in the questionnaire, in the dropdowns of the actor table and in the styling dialogs of the network map. For ordinal scales (
1to5, “never” to “daily”) it pays to sort them properly right away.Note: a newly created attribute automatically gets the read and write group of your project. That can be changed afterwards in the edit dialog.
Creating attributes elsewhere
You do not always have to come to this module for a new attribute. The same function also sits
- in the actor table under Add column → Create new attribute,
- on the network map in the Add relation dialog under Create new relation attribute…,
- in the online questionnaire when configuring an element.
All of these create the same thing and write into the same list.
Editing an attribute
The ... icon opens the Edit attribute dialog.
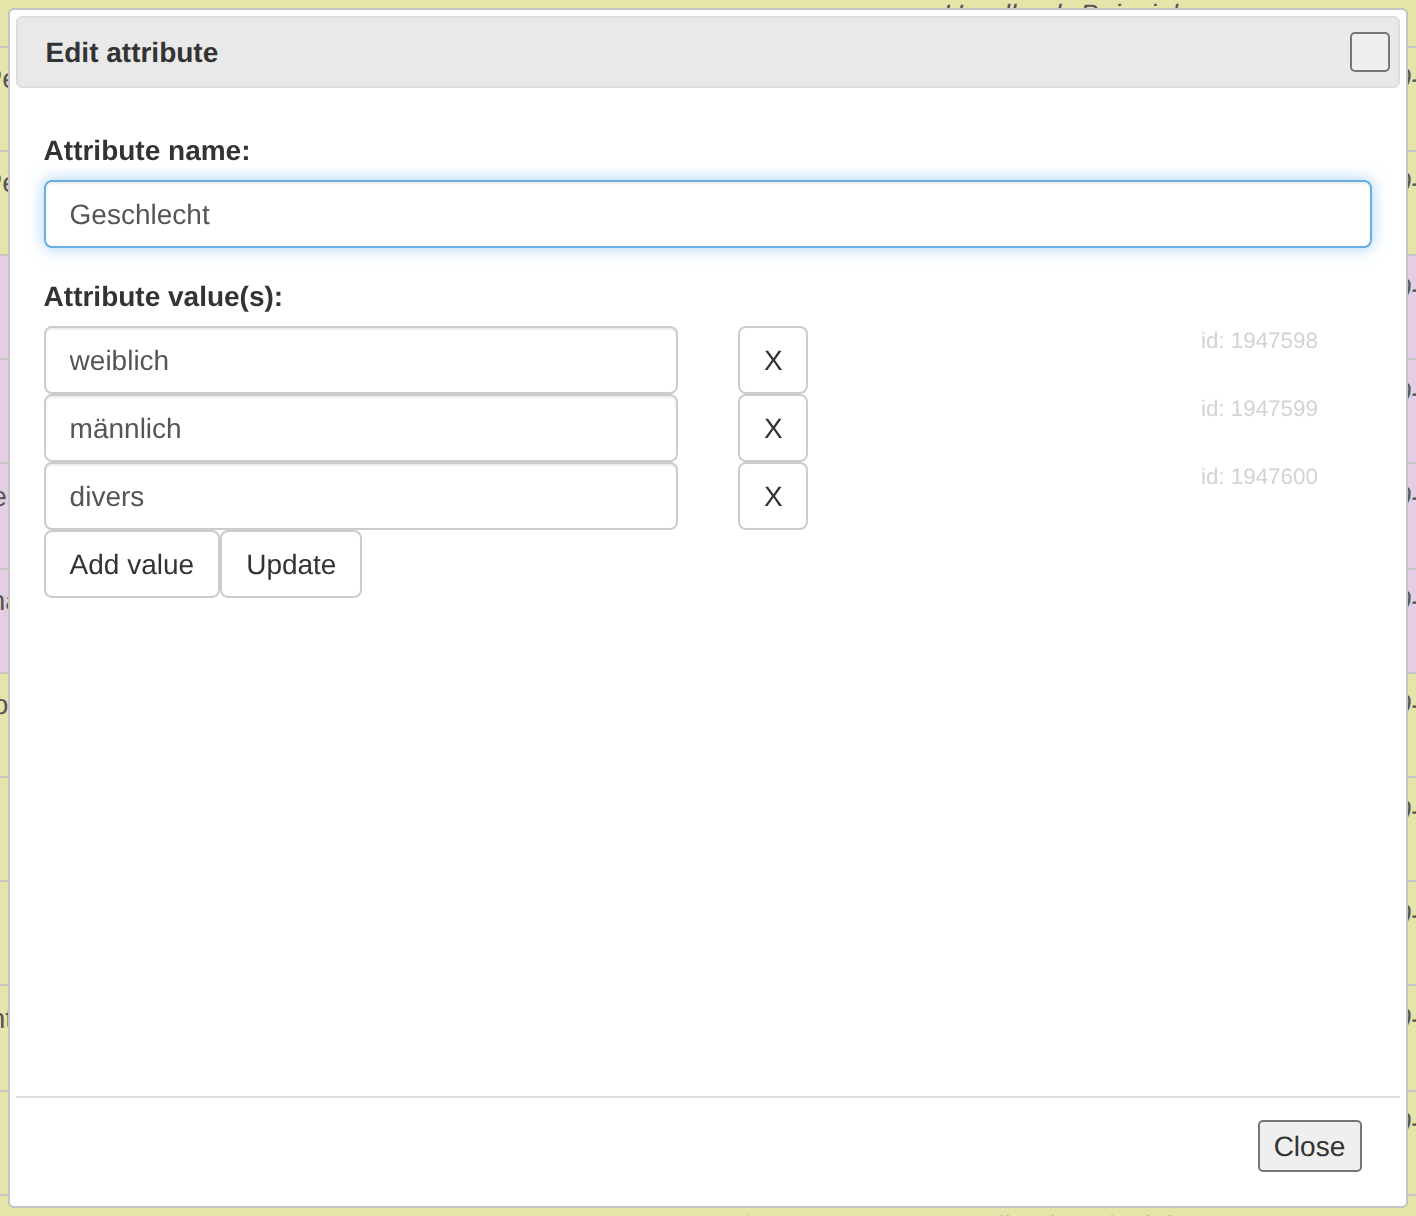
Here you change
- the name of the attribute,
- under Read and write group: the read group (upper select) and the write
group (lower select) – the asterisk
*marks the current group, - for predefined attributes the value list: rename values, add with Add value, remove with X.
Update completes the change. The number after id: beside each value is its internal identifier.
Caution: the answer type cannot be changed afterwards – which is why the choice is absent from the edit dialog. If you need the other kind, create a new attribute, transfer the values through export and import, and delete the old one.
Caution: removing a predefined value also removes it from every actor and relation that carries it. Renaming a value is harmless – the assignments survive, because internally the value id is used.
Duplicating an attribute
The copy icon creates a copy with the same kind and the same values, without
asking. The name gets an underscore appended (Geschlecht_); if that is taken
as well, a number is added (Geschlecht_1).
Tip: duplicating saves typing when you need a long value list a second time –
Friendship (T1)andFriendship (T2)for two waves, say. For the same purpose there are also periods; which route fits better is described there.
Deleting an attribute
The ✕ icon opens a confirmation; Delete deletes, Close cancels.
The checkboxes let you mark several attributes – the box in the header selects all displayed ones. The red button Delete selected (n) then appears.
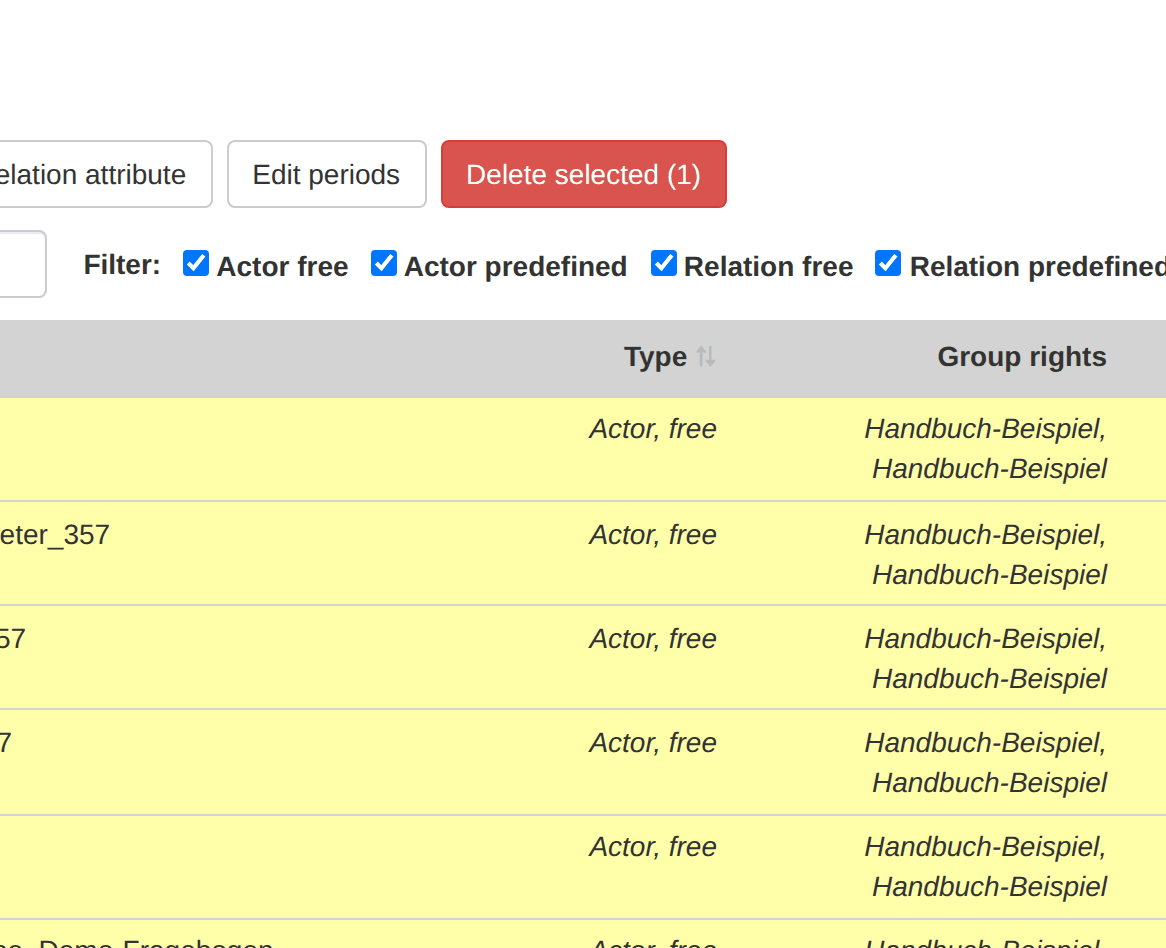
Caution: an attribute used by a network map cannot be deleted. MyNetworkmap aborts and reports Cannot delete attribute. Attribute is used by networkmap …. Remove it there first. When deleting several attributes the remaining ones are still processed.
Caution – leave the technical attributes alone. Every network map creates three attributes when it is set up:
nwk_<map name>(who lies on the map) andnwk_x__<map name>/nwk_y__<map name>(the positions). Delete them and the map loses its content. The same goes for thesurvey_…andquestionnaireLink_…attributes of a questionnaire.
Periods
A period is a named point or span of time to which values and relations can be assigned. It lets you record the same network at several points in time and keep the waves apart.
Periods are defined here and selected elsewhere: during import and when saving values on the network map.
Edit periods opens the Periods dialog.
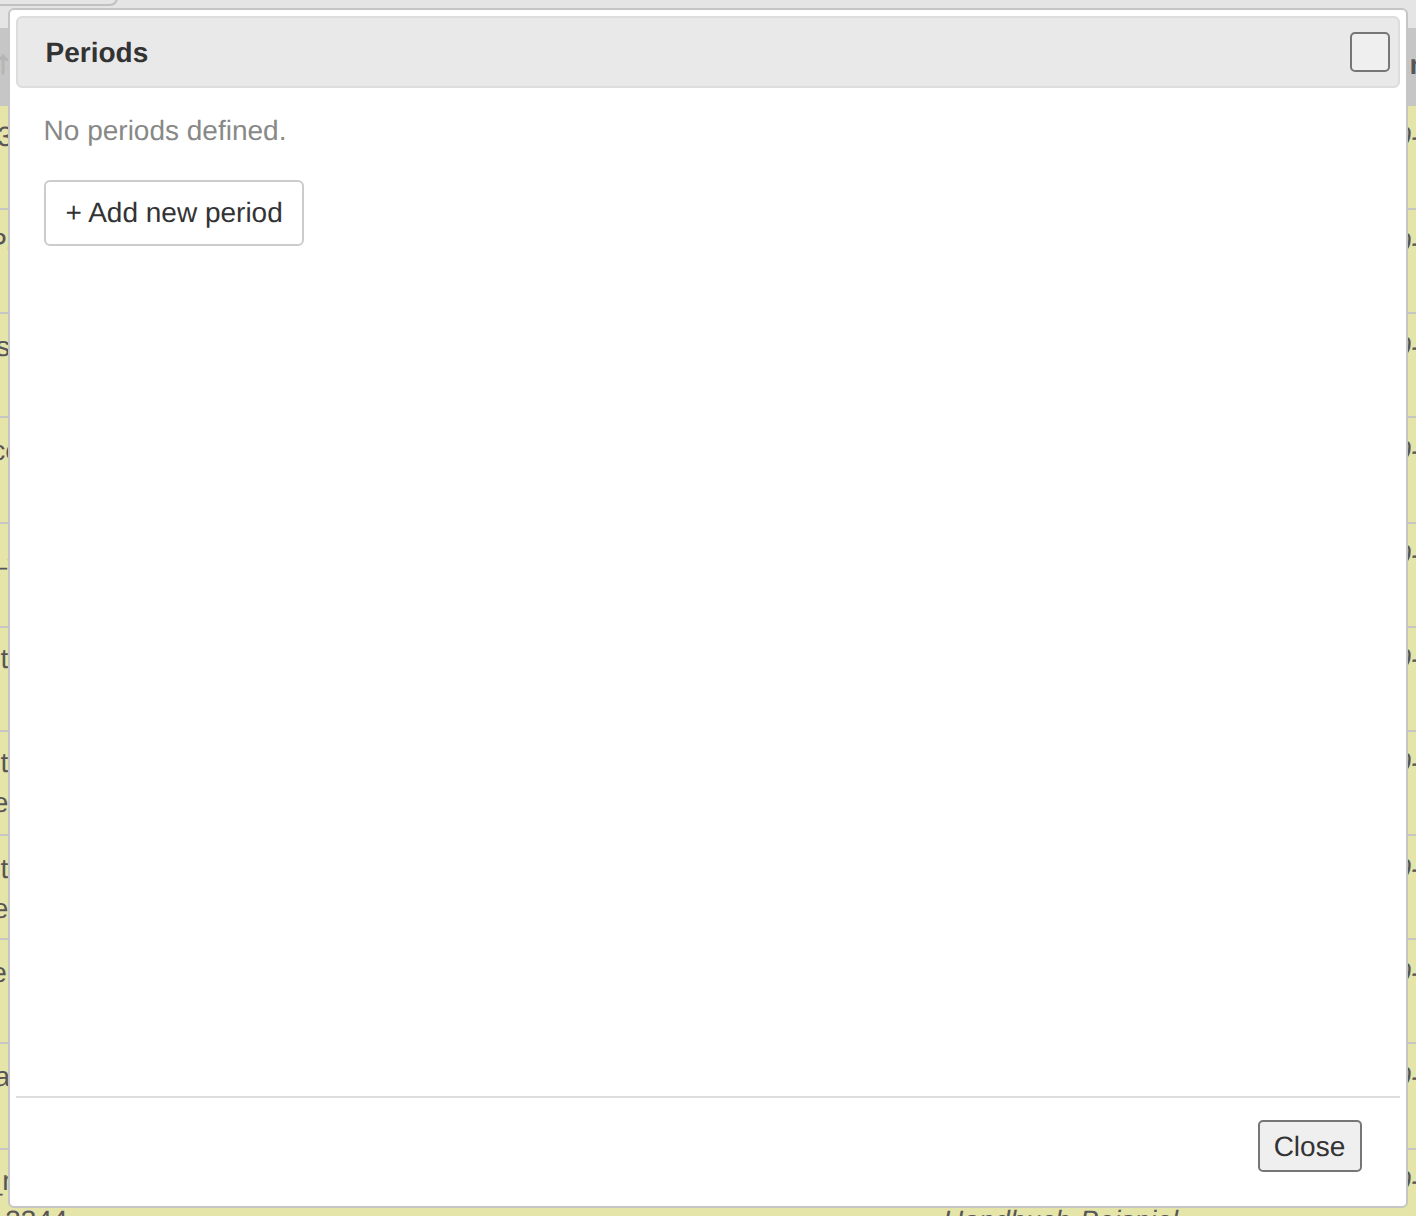
The table lists all periods with Label, Start and End. A dash —
means no date is set. Each row offers ... to edit and ✕ to delete. With no
periods defined you see No periods defined.
Creating or changing a period
+ Add new period opens Add period; the ... icon opens the same form as
Edit period.
| Field | Meaning |
|---|---|
| Label * | Required: name, up to 200 characters |
| Start (optional) | Beginning as date and time |
| End (optional) | End as date and time |
- End is disabled while no Start is entered.
- The end must be after the beginning, otherwise MyNetworkmap reports End must be after start.
- Both dates are optional. A period with only a label is enough if you merely want to tell waves apart.
Save stores, Cancel discards, Close closes the dialog.
Periods or a second project?
For a second wave there are two routes, and both are defensible:
| Periods in the same project | A second project | |
|---|---|---|
| Actors | created once, keep their identity | created anew |
| Comparison over time | possible directly | only through export |
| Measures per wave | one map per wave needed | separated automatically |
| Clarity | suffers with many waves | preserved |
Recommendation: periods when it is the same people over time (a panel). Separate projects when it is different groups – as in use case 2, where every class has its own project.